
We've had lots of people coming through making wreaths in our studios the last few weeks- it's been fun. So many of you have asked for a wreath making class; we thought we'd share a few wreath secrets and making tips online with you. I hope this translates on the Internet...here goes!
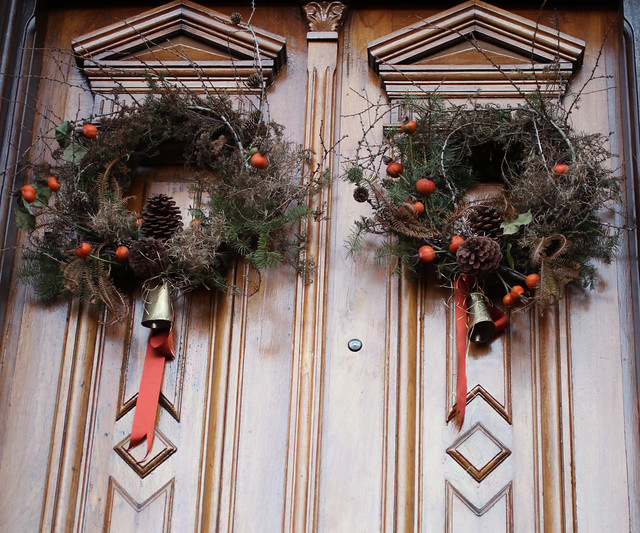
Making a wreath is similar to making an arrangement - you want to bring together a variety of textures, shapes and colors that compliment each other before you get started. This could happen from cuttings from your own yard. At our farm we pulled lots of tamarack cones, various evergreens, dried queen annes lace and grasses for these wreaths. We added some of Fallon's beautiful pumpkin-like rosehips and a few special sheep bells from a client who was lucky enough to visit Majorca this past year. Anything goes! Lichen covered branches...artichokes from the grocery store...kumquats, tangerines. You can wire just about anything into a wreath.
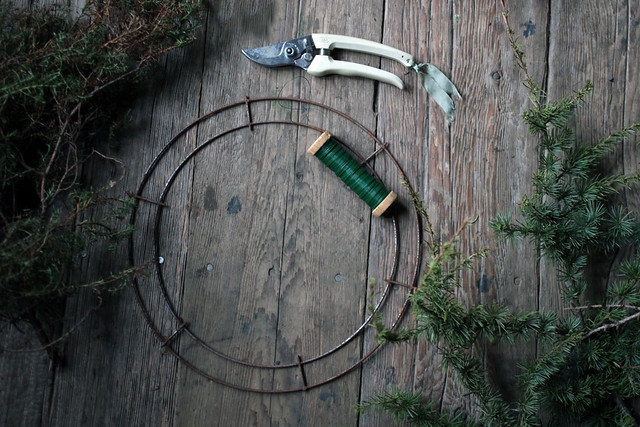
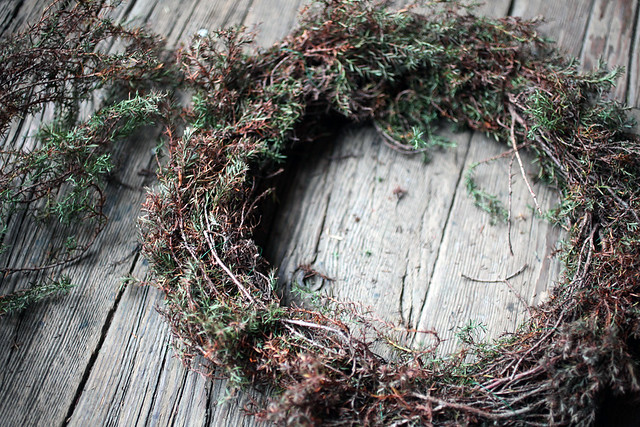
The way I start most evergreen-based wreaths is a with a wire wreath form. You will also need a spool of wire (a medium gage is best) and a pair of snips or clippers.
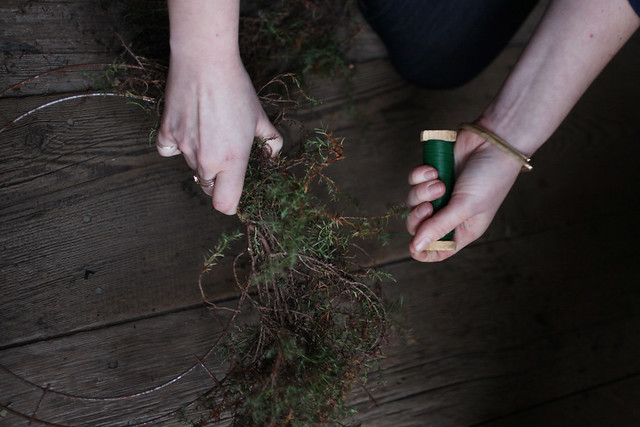
Start by mounding a fistful of green clippings on the bottom of the form.
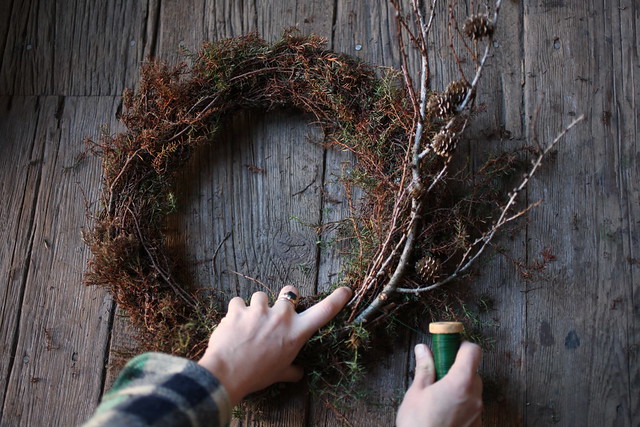
While you hold the first bunch on, start pulling the wire around the bunch and form; looping the wire through the center of the wire form (see above photo). No need to cut the wire - you're going to keep wrapping it around the form and greens until the whole circle is complete.
When
you're done with your base-wreath or foundation, you can start adding a second
layer of greens and/or some of the doo-dads you've collected to decorate the
wreath. This is the fun part.
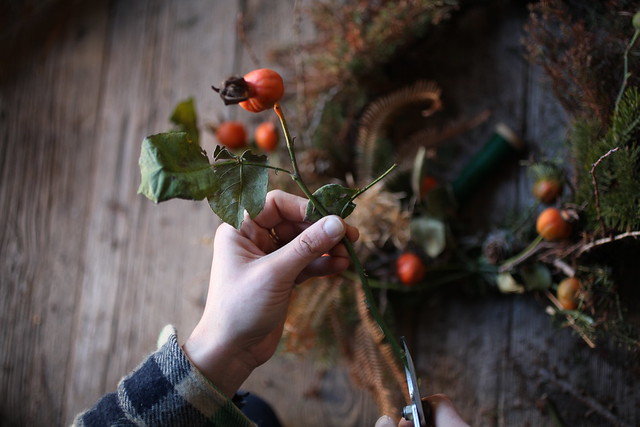
I like to concentrate my fancier botanicals
toward the bottom of the wreath, letting them sort of spray out horizontally
like a big collar. Do yourself a favor and clean up your stems; clipping off
thorns and cutting the end of the stem at a sharp angle. This will make it
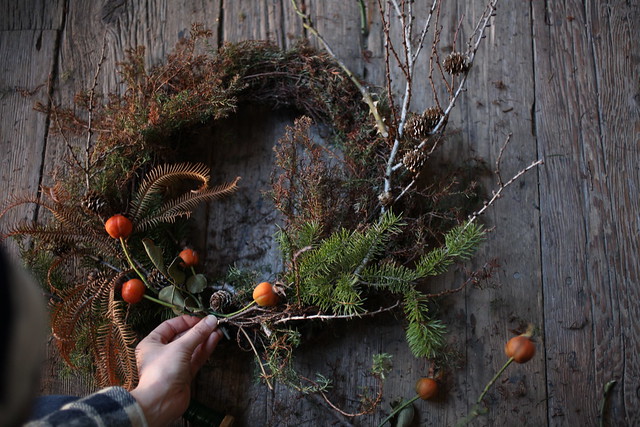
easier to poke, jam or ease your pieces in. If you've made a nice tight base
with your greens and wire, then a lot of your second layer material can just be
tucked into your base without needing it's own wiring. Heavy pieces like the
tamarack branches you see above I would wire in. No one wants junk falling out
of a wreath when someone slams the door!
Of
course, there are more than one ways to skin a cat! You could evenly distribute
your materials around your wreath. Or make the big statement at the top. Keep
in mind where your wreath will hang -- I have a bad habit of making big wild
wreaths that later need to be trimmed back heavily in order to avoid poking
people in the eye as they walk through a doorway.
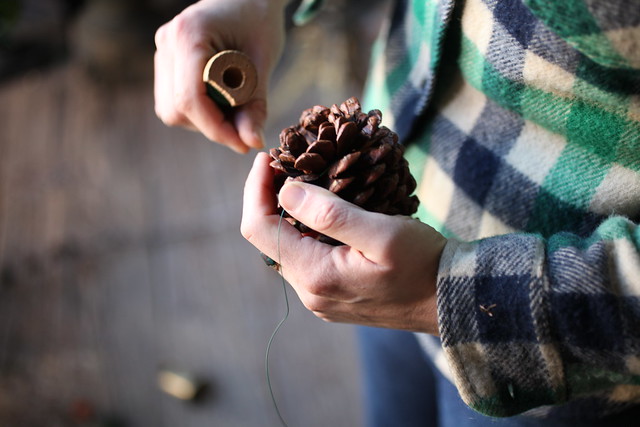
The
last step would be to wire in big pinecones or ornaments. And of course
the right ribbon! You can slip wire right through the knot of a bow to
adhere it around the bottom of the wreath.
We’d love to see what you make-- send photos!
We’d love to see what you make-- send photos!
MERRY CHRISTMAS AND HAPPY HANUKKAH!